Asset Six - Chair
One of Six Assets to be completed for Task One in Modelling to Camera.

The Chair was the most complex and demanding of the six, since my familiar usage of the Polygon Primitives were irrelevant and a new method was necessary. Setting the Image Planes as references was relatively simple, as well as setting the points of the EP Curve Tool for the leg and matching the overall positioning.
The first major block came from the NURB Circle attached to the curve on the chair’s Motion Path. The NURB Circle was not facing the necessary direction, Normal Z, even with the appropriate values on the NURB Circle’s input. After some troubleshooting, I realised the Motion Path settings altered the Normal to X instead of Z, which solved the issue.
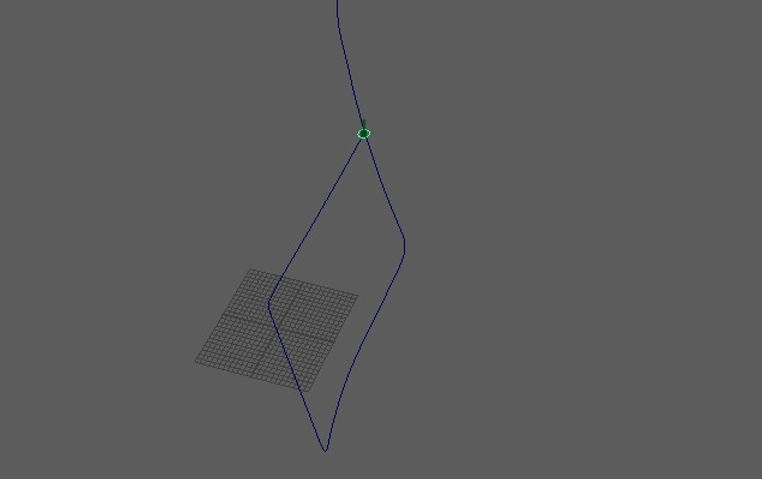
Directly after that, I created a surface based on the NURB Circle’s Motion Path using the Extrude feature to form a tube, and the surface was extremely contorted; parts of the surface were inside out, backfacing, and/or flattened instead of creating a tube. I tried resolving this through rotating the vertices, which we slanted and tilted instead of parallel to the EP Curve vertex.
These challenges are what will help me in the future: relevant tasks on my way to becoming a director and storyboard artist. I think understanding the creation of an asset as complex as this will help me clarify my drawings and ideas of environments and props.
Overall, I am satisfied with this asset. I think altering the back and centre of the chair’s leg would be a place to improve if I were to redo this project. In the end, I am above satisfied with the first task in total, and I am excited to see what tasks are to come.
